


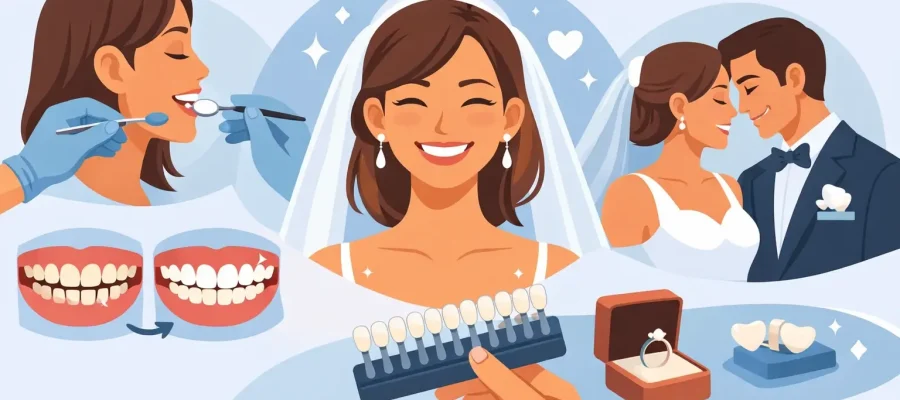
A wedding smile makeover example is not about giving every bride or groom the same ultra-white, perfectly uniform teeth. It is about designing a smile that looks exceptional in close-up photos, stays believable in person, and feels like it belongs to you when you say your vows. The difference comes down to planning: your facial proportions, natural tooth color, gum line, wedding date, and the type of dentistry that will deliver the right result without avoidable pressure.
For an event with a fixed deadline, a beautiful result is only half the job. The other half is building a treatment sequence that gives your smile time to settle, photograph well, and feel completely natural before the first toast.
A wedding smile makeover example with a fixed date
Consider a patient traveling to Istanbul four months before a destination wedding. She is a 32-year-old creative director with healthy teeth but several concerns that became more visible in professional photography: uneven front edges, two old fillings that had darkened, mild crowding, and a tooth shade that looked dull against her wedding dress options. She wanted a refined, bright smile, not a flat, artificial look.
Her initial instinct was to request veneers on every visible tooth. The better clinical answer was more selective. A digital consultation and 3D smile preview showed that her proportions were already strong. The plan focused on the teeth that shaped her smile most, pairing conservative aesthetic work with whitening and minor gum contouring rather than preparing more teeth than necessary.
This is the point of an engineered smile makeover. The right treatment is not the largest treatment plan. It is the plan that creates the strongest visual change while protecting healthy structure and fitting the time available.
Stage 1: Design the smile before treatment begins
The first stage is a detailed smile analysis. Photos, video, digital scans, bite records, and facial measurements help the dentist assess more than tooth color. The team studies how much tooth shows when the patient speaks and smiles, the symmetry of the gum line, tooth width-to-length ratios, lip movement, and how the front teeth support the face.
For a wedding patient, this process also includes practical questions. Will the event be in bright daylight or a low-lit venue? Is the goal a soft natural white or a higher-impact Hollywood Smile? Does the patient grind their teeth at night? Is there any gum inflammation, decay, or bite issue that needs treatment before cosmetic work?
A 3D Digital Smile Design preview turns those questions into a visual direction. It lets the patient react to shape, length, brightness, and overall character before final restorations are made. A preview is not a guarantee that every millimeter will look identical in the mouth, because biology and bite function matter. But it creates a far more predictable starting point than choosing a smile from a generic photo.
In this example, the patient chose a bright but natural shade and slightly softened tooth corners. Square, very white teeth would have looked more dramatic on screen, but the softer design better matched her face and personal style.
Stage 2: Prepare the foundation for a camera-ready result
A makeover should never cover up active dental problems. Before aesthetic treatment, gums must be healthy and teeth must be stable. If a patient has bleeding gums, untreated cavities, cracked teeth, or a bite that overloads the front teeth, those concerns change both the timeline and the treatment plan.
For this patient, gentle gum contouring was used to improve the symmetry of one side of the smile. The change was subtle, but it made the upper front teeth appear more balanced. Her natural teeth were then whitened first, allowing the final ceramic restorations to be color-matched to a brighter baseline.
Whitening before veneers or crowns matters because ceramic does not whiten after it is placed. If someone expects to brighten their smile later, the surrounding natural teeth may no longer match the restorations. Planning the shade sequence in advance avoids that mismatch.
Stage 3: Choose veneers, crowns, or bonding for the real problem
The restoration choice depends on the condition of each tooth. Veneers are often ideal for healthy front teeth needing changes in color, shape, small gaps, or minor alignment. Premium E-Max veneers are prized for their translucency, making them a strong choice when a lifelike finish is the priority.
Zirconium crowns may be the better option when a tooth has a large existing filling, significant damage, root canal treatment, or needs stronger full-coverage support. Composite bonding can be a conservative solution for small chips or minor reshaping, although it may stain and require maintenance sooner than ceramic.
In this wedding smile makeover example, six E-Max veneers were planned across the upper front teeth, with two small bonding refinements on the lower teeth. The old dark fillings were replaced as part of the process. The objective was not a mouth full of identical restorations. It was a clean, harmonious smile that looked polished from every wedding-photo angle.
Stage 4: Try in the new smile before final placement
A premium makeover should include a try-in phase whenever appropriate. Temporary restorations or a mock-up allow the patient to see the proposed length, edge shape, and overall balance while speaking and smiling. This is where small refinements make a major difference.
Maybe one front tooth needs to be shortened slightly. Maybe the canines need a softer contour. Maybe the patient loves the color but wants less surface texture. These choices are far easier to discuss before final placement than after the ceramics are bonded.
With CAD/CAM workflows and in-house coordination, qualifying cases can move efficiently through scanning, design, try-in, and final placement. Speed is valuable for international patients, but it should never mean skipping clinical checks. Bite comfort, gum response, fit, and color verification remain essential.
The patient in this example approved a small adjustment to the incisal edges during the try-in. The final result was brighter, more even, and visibly more youthful, but still recognizable as her own smile.
Timing your treatment around the wedding
The best time to start depends on the treatment. Whitening or minor bonding may need only a short lead time. Veneers and crowns generally require more planning, especially if several teeth are involved. Gum procedures, implants, orthodontic movement, bone grafting, or complex bite rehabilitation can require substantially longer.
A four-to-six-month runway is comfortable for many cosmetic cases because it leaves room for consultations, healing, adjustments, and a final review. If you are traveling internationally, it also gives you flexibility if a second visit is clinically recommended. A shorter timeline may still be possible for selected cases, particularly with one-visit crown technology, but the treatment must be assessed honestly.
Do not schedule your final dental visit for the day before you fly to your wedding. Build in time to adapt to your new bite, receive a protective night guard if you grind, and make any final polish adjustments. You want the week before the wedding to be about fittings, family, and excitement, not dental uncertainty.
What makes the result look expensive, not overdone
The most convincing wedding smiles are rarely defined by maximum whiteness alone. They combine color, proportion, surface texture, gum harmony, and natural light reflection. Teeth should look fresh in direct sun, warm indoor lighting, flash photography, and unedited video.
This is why copying an influencer’s smile without considering your own face can disappoint. A high-impact Hollywood Smile may suit one patient perfectly, while another looks best with restrained brightness and subtle asymmetry preserved. The strongest result is customized, not copied.
At DRGO Smile Clinic, international wedding patients can combine advanced digital planning with coordinated travel support, so the experience feels managed from arrival to final smile review. The priority remains the same: a signature smile that is designed for your face, your timeline, and the moments you will remember long after the photos are taken.
If your wedding date is set, begin with a detailed smile assessment rather than a procedure request. A clear preview and a realistic timeline will give you something better than a fast cosmetic change: the confidence to smile freely through every close-up, speech, and celebration.